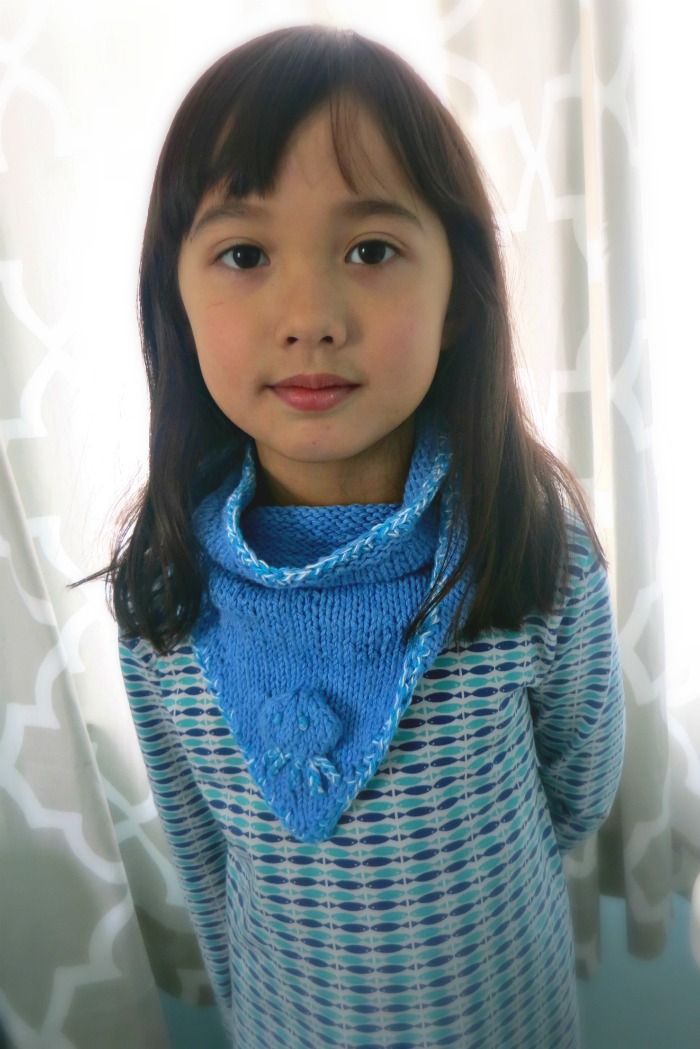

Knitting an Octopus Bandana
/Here is my knitting pattern of a kid size Bandana with an Octopus. Bandana is a more casual and lighter than a scarf, and Octopus just add more interest and fun. You can also use the Octopus motif in any of your knitting project. Also check out my Bunny knitting pattern in another post.
Free pdf download available at the end of the post.

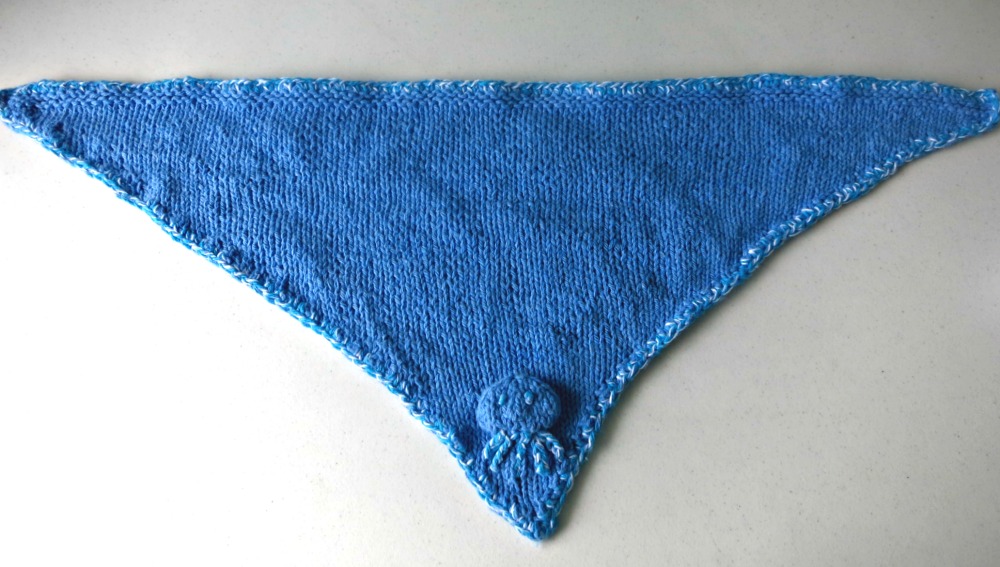
This Bandana is worked from the tip of the triangle, starting with a garter stitch, increasing on both side gradually until the desired height is reached. Then it ends with a few rows of garter stitch, and a crocheted border. The detail of the octopus is added at the end by crocheting chain stitches of the legs and making 2 knots for eyes.
Material
Yarn: I use worsted weight cotton yarn. Cotton is lighter for warmer days, but I miss the softness of the wool yarn. It is up to your preference.
I use 2 colors of yarns to make the pattern stands out more. One is solid blue and one is blue and white. Again it's your choice for color combination.
Knitting needle: I use 4.5 mm 24 inch circular needle. Gauge of the needle should match your yarn. The piece is knitted back and forth, and the circular needle is just to hold longer length of knitting.
Crochet hook: Use the size close to your knitting needle. 4.5 mm for me here. I use the hook to crochet around the edges and making chain stitches for the legs of Octopus.
Pattern
cast on 2 stitches
row 1. K2
row 2. K2
row 3. (Kfb) x 2
row 4. P4
row 5. Kfb, K2, Kfb
row 6. P6
row 7. Kfb, K4, Kfb
row 8. P8
row 9. Kfb, K6, Kfb
row 10. P10
row 11. Kfb, K8, Kfb
row 12. P12
row 13. Kfb, K10 Kfb
row 14. P14
row 15. Kfb, K12, Kfb
row 16. P16
row 17. Kfb, K14, Kfb
row 18. P18
row 19. Kfb, K5, Make Bubble* from the next 6 stitches, K5, Kfb
*Here is how to do the Make Bubble from the next 6 stitches:
1. (Kfb) x 6 times
2. Turn, P12
3. Turn, K2, Kfb, K2, (Kfb) x 2 times, K2, Kfb, K2
4. Turn, P16
5. Turn, K2, K2tog, K2, (K2tog) x 2 times, K2, K2tog, K2
6. Turn, P12
7. Turn, K2, K2tog, K1, K2tog, K1, K2tog, K2
8. Turn, P9
9. Turn, K2, K2tog, K3tog, K2 ---> (back to 6 sitches)
row 20. P20
row 21. Kfb, K18, Kfb
row 22. P22
row 23. Kfb, K20, Kfb
row 24. P 24
row 25. Kfb, K22, Kfb
row 26. P26
Start increasing the purl side too. It is now 2 rows increase followed by 1 non-increase row. Use Pfb for the increase on the purl side of first and last stitches.
row 27: Kfb, K24, Kfb
row 28: Pfb, P26, Pfb
row 30: K to the end
row 31: Pfb, P28, Pfb
row 32: Kfb, K30, Kfb
row 33: P to the end
row 34 and beyond: continue the increasing pattern by 2 rows of increase and 1 rows of plain knitting, until the desired height is reached. I have 100 stitches a the end
Next, knit 4 rows of knit stitches to create a little garter stitch edge.
Crochet
With a second color yarn:
Crochet around the edges with single crochet for a more finished look.
Make 2 big knots for the eyes.
Crochet 5 chain stitches for legs. Each chain stitch has about 4-5 chains. I attach the end to the back so it stays in place.
Blocking with steam or wash and dry flat.
Tips
You can adjust the angle of the triangle. Increase every other row, or every 2 rows following a plain stockinette row. It creates different slope.
For bigger kids or adult, just keep knitting the increase until the size you like.
Download
For free pdf pattern download, click the button below.