

Machine Knit a Toddler Hat on LK150
/
How to tutorial for machine knitting a toddler hat on LK150 knitting machine
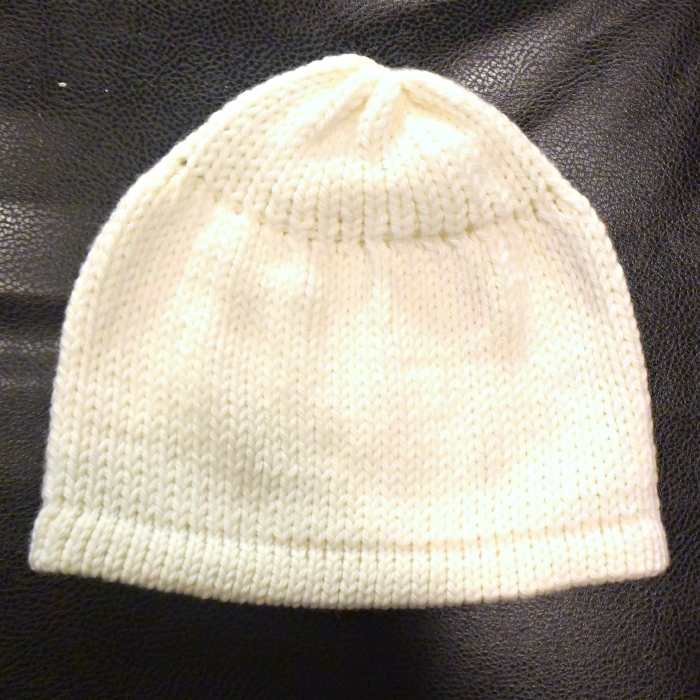
Here is a simple and quick machine knit project, a toddler hat for 2-3 years old. I knit it on Silver Reed LK150 mid gauge machine. It will work very well with Brother KX350 mid gauge machine. If use a bulky or standard machine, you just have to make a swatch and adjust the tension and stitch/row numbers.
Yarn: I use less than one skein of Berroco "Vintage" yarn. Any worsted weight yarn will work.
Tension: mast tension 7, and main tension 5 for the brim, 7 for the stockinette stitch, gradually reduce for crown shaping (Tension 6.5, 6, 5.5, 5, ...).
Cast on: pull out 72 needles space evenly on each side of 0 (center point). I use e wrap cast on, but you can use waste yarn and ravel cord, or any cast on method you like. Hang the cast on comb and weight. Turn the counter back to 0,0,0.
With carriage tension dial on 5, I knit 10 rows.
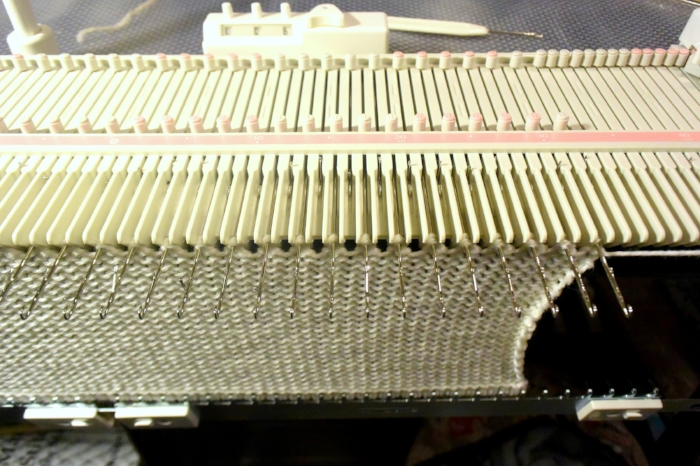
Hang the first row back to the needles with one prong transferring tool. See the picture below.

Hang each stitch back to the hook with transferring tool.
Change carriage tension a little higher and knit one row. I choose T. 6 for this row. Turn the counter back to 0,0,0.
Chang main tension on the carriage to 7 (or whatever your swatch tells you), and start knitting 25 rows.
Crown shaping: transferring every other stitch to its adjacent needle. Return the empty needles to the non-working position (top of bed). Each working needle should have 2 stitches except the last needle that has only one stitch. You can pull the working needles all the way out to prevent dropping stitches. See the picture below.
Start crown shaping by transfer every other stitch to the next needle with transferring tool.
Change tension gradually to lower number. I knit 2 rows of T6.5, 2 rows of T6, 2 rows of T5.5, 2 rows of T5, 2 rows of T4.5, 2 rows of T4, 2 rows of T3.5, and 1 row of T3. The counter will show 40 rows.
Measure the yarn about 3 times the length of the knitting and cut it. Use a darning needle and draw through the stitches on the needles. Tightening it up and use the rest of yarn to sew the seam. See picture below.

Draw the yarn through the live stitches on the needles. Ready for next step: sewing the side seam.
The most invisible seam for connecting stockinette stitches is the Mattress stitch. You find the little horizontal bars near the edge of each panels and weave though them. However, I am using a quicker method of sewing that produce a more flat seam but not as pretty as mattress stitch. When you look closely at the edge, there is a knot and a loop alternating. I am sewing though the loop only, with needle coming out of the loop from both sides. See picture below. You can seam it anyway you like. There is no right or wrong way in knitting.

See the knot and loop alternating on the edge.

sew though the loops and not knots for quick seaming.
Continue sewing up the outside and inside of the brim. Weave in the ends. Steam block if you like. All done! Now you can think about variegated yarn or striped colors for the next hat. Maybe add a pompom on the top, or duplicate stitch for initials. Endless possibilities. Have fun.

This seam is flat but not as invisible as Mattress stitch.

