

How to convert LK100 into a small knitting machine
/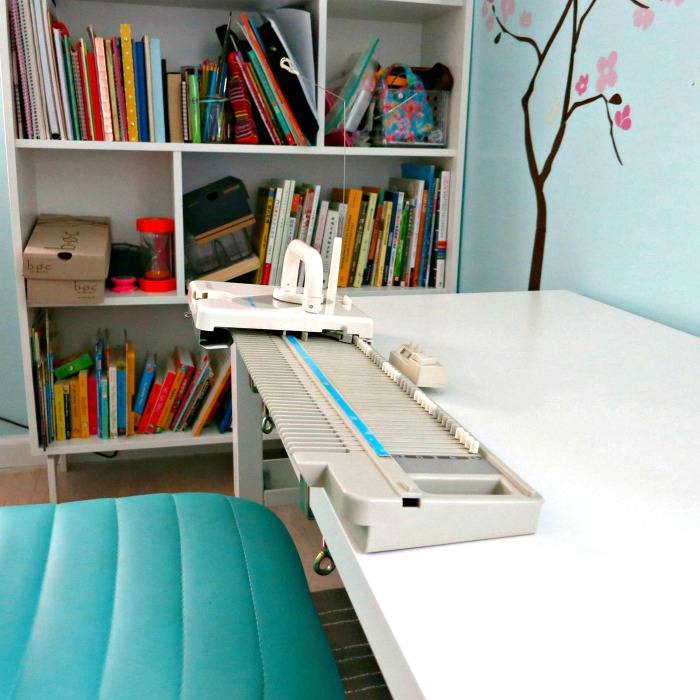
Shortened Singer LK100 plastic bed knitting machine
Why mini knitting machine?
A knitting machine is sometimes intimidating for beginners. There is a learning curve for every new machine. What if we can try out on a small, basic machine that does not require a lot of investment? That is why I like the idea of converting a second-hand mid-gauge plastic bed machine into a small one. It is less expensive, does not take up a lot of space, and is not too complicated to learn. It is better than most kid's toy knitting machine, or "the Bond knitting machine" in my opinion.
I saw some people convert their plastic bed machine into mini knitting machines on the Facebook. It looks so cute and fun. I finally tried it on my Singer LK100 the other day. The process is very simple. Totally recommend it for first-time machine knitters. Metal bed machine is usually very heavy and more expensive. And they are all mid-gauge, meaning you can use regular hand-knitting yarn, and the needle spacing is not too small to hand manipulate.
With a section taken out. Only 54 needles left.
Different types of plastic-bed machine
There are several popular plastic-bed machines. They all function similarly. Only the Silver Reed LK150 model is available as new. The rest can be found on eBay as second hands. The cheapest is the Singer LK100 (about 100 US dollars), and the slightly higher prices are Brother KX350, KX390, KX400. The next is Singer or Studio LK140. LK 140 is similar to Silver Reed LK150 except for only 140 needles.
LK100 does not have a separate tension mast like the rest of the models, but that makes it more compact and portable. You can buy a separate tension mast (for other models) and attach to a C-clamp as an upgrade for your LK100. You can also borrow the tension mast from a different machine and mount the 2 machines back to back. A standard tension mast will make knitting smoother and faster but takes more space.
If you have LK140 or LK150, you can also borrow the carriage to use on LK100. LK100 has a bigger gauge (needle spacing) but still works perfectly with LK150 carriage. The knitting carriage of LK100 does not have a holding position like the carriage of LK140 or 150. You have to manipulate stitches by hand. It is something to think about.
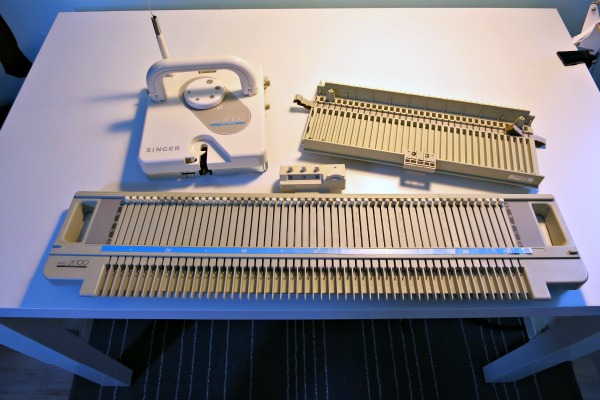
Convert LK100 to a Mini knitting machine
1. Take off the carriage and counter, take out the two table clamps, and flip the whole needle bed upside down. Now you can see the bed is made of several sections and connected by pieces of plates and screws.
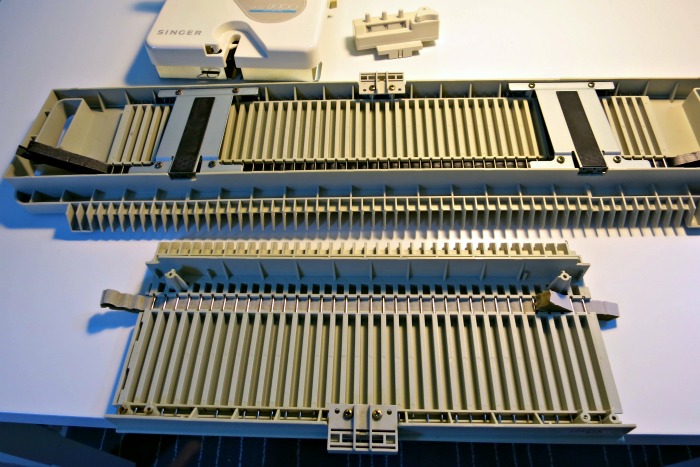
Back view of the machine. The bottom one has old sponge strip. The top one has new sponge strip.
2. Unscrew the two plates that are holding the section of bed you want to take out. Snap the section of plastic bed out. You will notice the sponge strip is still connected. Either cut out the sponge strip or pull out the whole sponge strip to be replaced with new one. If the sponge is not replaced in the past 2 years, it is a good idea to install a new one. They are available on eBay and website like Spongebar.com.
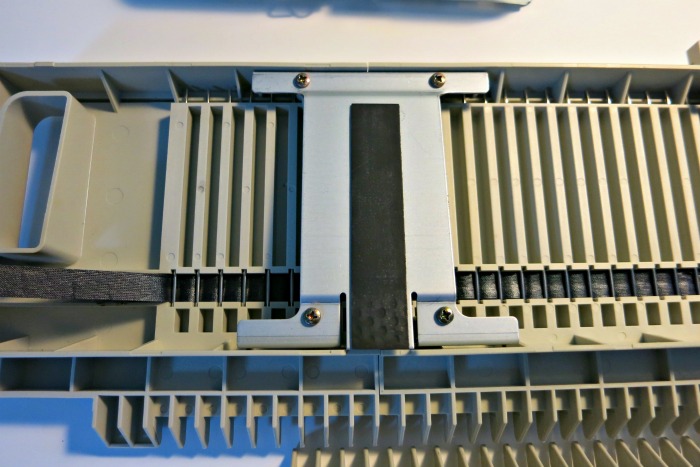
Sections are connected with a metal plate and 4 screws.
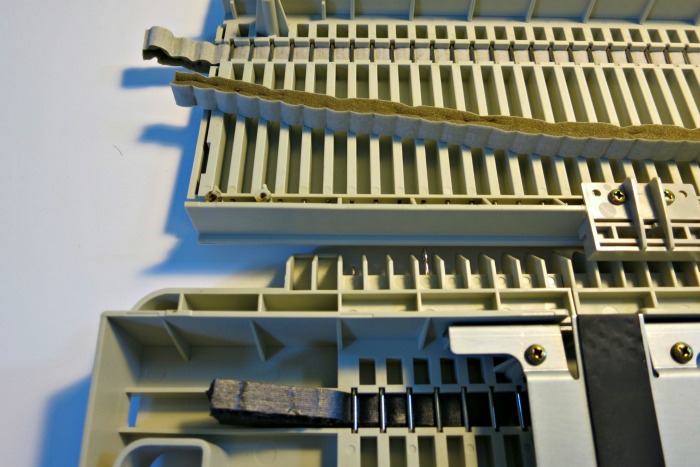
Old and flattened sponge strip on the top. The bottom black one is new.
3. The numbering sticker in the front will need to be adjusted. I simply peel it off for now. After the whole bed is assembled again, I will stick or glue it back with number 0 in the center, and cut out the extras on both sides. The numbering sticker is also available online if you need it.

Reposition numbering sticker with 0 in the center of modified machine. Cut out the extra on both sides.
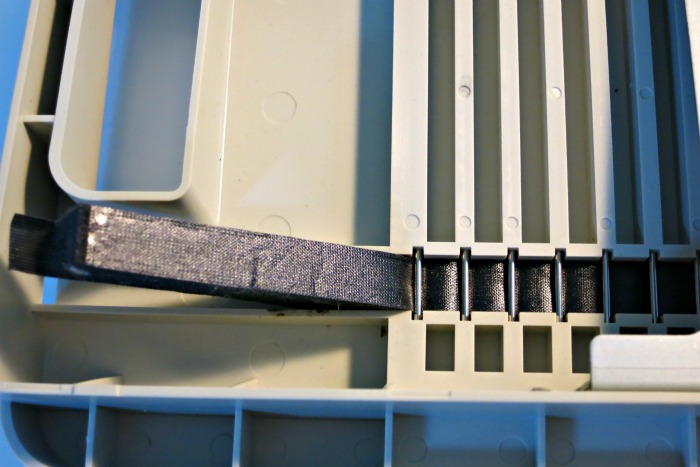
4. After taking out the section piece, screw back the 2 connecting plates. If you need a new sponge strip, pull out the whole sponge and take out all needles by pulling up needles from the front with the latches closed. It is a good time to clean the needles with a wipe or alcohol/machine oil mixture.

Slide out needles from the slot.

Needles are installed from the top. Make sure it goes on top (outside) of the sponge strip.
5. Install the new sponge strip in the channel and put back all the needles. Use left hand to press down the new sponge from the back of the machine, and right hand to slide the clean needle back into the slot (the needle staying outside/ below the sponge) with the needle latch open. Once all needles are installed, cut out the extra sponge strip on both sides.
Needles on top of sponge strip.

Press down sponge strip when install needles.
6. Almost done. Just snap back the row counter, slide in the carriage and screw back the table clamp. Now you have a portable, light weight toy to play with.
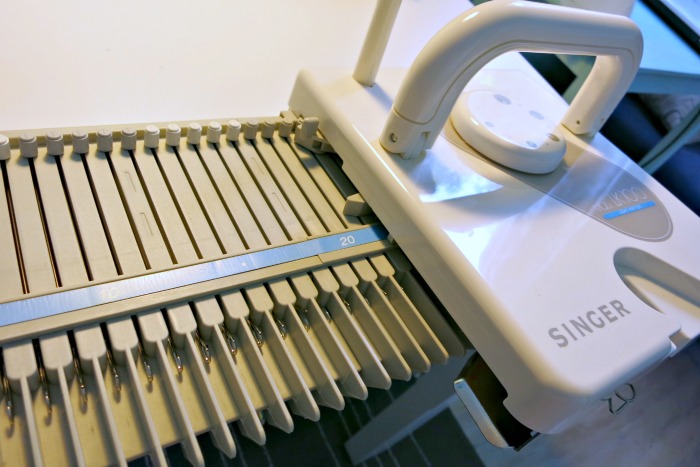
Slide back carriage,

Install 2 table clamps.

The taken out section.

The taken out pieces.
Sample knitting
Of course, you want to try a sample knitting on the "new" toy. Thread one yarn according to the diagram in the instruction book. Because of the tension mast location, LK100 requires yarn staying in the front of the machine, usually by our feet. See the pictures below for threading. Pull out a few needles in the center, use the e-wrap cast on or any cast on method, return the needles to C position, and knit one row by sliding the carriage. If you leave the needles on D position, it will not knit, unless you are using LK140 or LK150 carriage. That's the unique part about LK100 model.

Threading the yarn - step 1.

Threading the yarn - step 2.

Threading the yarn - step 3 (go through take up spring on the carriage)

Threading the yarn - step 4 (go through the slot in the center)

Starting e-wrap cast on.
Add proper weights on the first row of knitting, and you are ready to knit stockinette stitches by moving the carriage back and forth. Bind off with any method you like, or knit a few rows of contrasting color yarn and finish the edge by hand knitting.

E-wrap cast on.

Finishing e-wrap.

First row.

Adding weight.
After converting to a mini knitting machine, there are only 54 stitches in the bed. Perfect for knitting scarf or practicing new stitches. Once you master the little machine, you can upgrade to the machine with patterning ability such as a punch card machine or electronic metal bed machine.
If you want to make a big blanket without seaming, you can connect two LK100, LK140, LK150 or Brother KX 350 to make a long continuous bed in the same way. Since plastic knitting machine is lighter and cheaper, there is less risk to modify and experiment. Even if you just use it for plain stitch part of the hand knitting project, it speeds up the time and opens a new world of possibilities. Many machine knitters have several machines because it is so addictive.


