

Machine knit a simple square sweater
/Knitting a sweater sounds like a big project, involving a lot of yarns, skills and time. Machine knitting saves a lot of time, but the shaping and calculating can still be complicated. What if we can knit with simple square shape, minimal calculation, and basic techniques? If you are a beginner or just looking for simple, brainless project, this might be the answer for you. I call it "square style knitting". Use basic geometric shapes and sew them up to produce garments and accessories. The same principle works for machine and hand knitting. Here is the first one of the Square Style Knitting series - the rolled neck square sweater.
The sweater is done in 1 week with a knitting machine. Here is the process:
Day 1: making a sample, block it, and calculate your final stitches and rows.
Day 2: Make the front square, including hand-manipulated ribbing at the edge.
Day 3: Make the back piece the same as the front.
Day 4: Make one sleeve (ribbing + plain stitches)
Day 5: Make another sleeve.
Day 6-7: Seam up with a crochet hook or sewing with yarn. Weave in the end. Steam block.
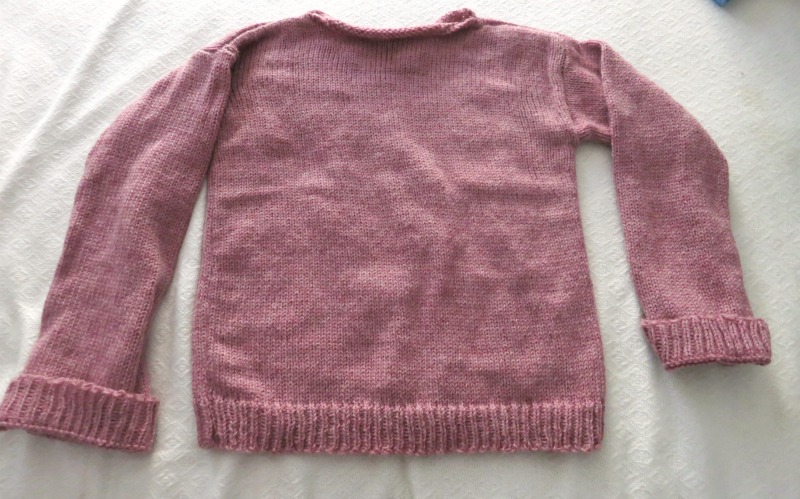
Here is the breakdown of the Roll Neck Square Sweater:
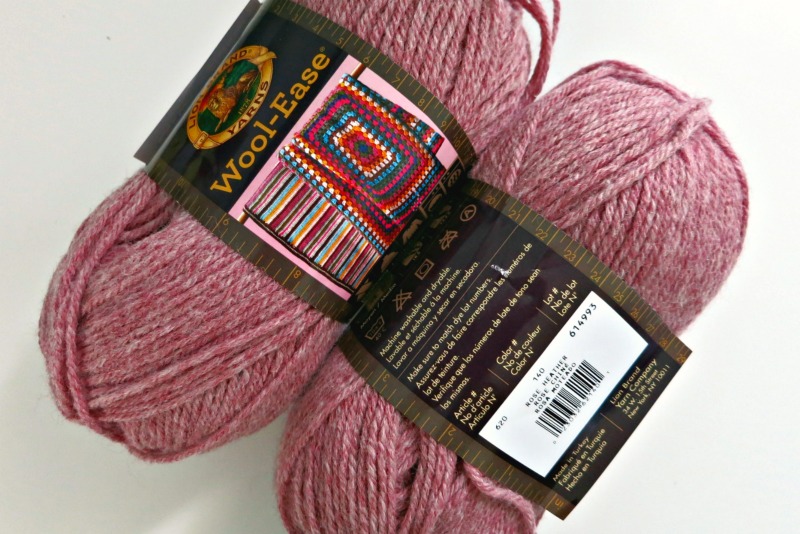
Day 1: Make a swatch by knitting method of your choice (hand or machine knit). I use Brother 260 bulky knitting machine and 5 balls of worst weight Lion Brand "Wool Ease", color "Rose Heather". The rule of the sample swatch is to make sure you have a big enough piece of fabric for more accurate calculation. I knit about 40 stitches and 60 rows. I change the tension from 10, 9, 8, 7, 6, to 5 with 10 rows each. I decide to use tension 6 for ribbing and 7 for main areas after blocking. It is not too tight or loose.
You can block the sample by giving it a steam, or wash with detergent. Lay flat to dry.
After it is dry, calculate the stitch and row per 4 square inches or 10 square cm because bigger area gives more accurate calculation. Divide by 4 is your calculation per inch. I have about 4 stitches and 6 rows in the one-inch square.
To calculate your final dimension of the sweater, you can refer to your favorite sweater in your closet, or measure your body plus 1-3 inches for ease. For the front and back square, I want it to be 23 inches long by 20 inches wide, so I need to cast on 80 stitches (20 x 4 stitches) and knit about 138 rows.
If you follow my yarn and calculation exactly, the final sweater is about US size 6 or medium.
Day 2: Cast on 80 stitches (left 40 and right 40), or 81 stitches to make the 1 x 1 ribbing the same on both the outer edges for easy seaming up. You can use any cast on method. I use the simple e-wrap cast on. Knit 12 rows in Tension 6. Hand manipulates to reform them to 1 x 1 ribbing by dropping down every other stitch and latch up with knit stitches facing you. You can use a Ribber to knit the ribbing if you have one, or hand knit the ribbing if it is easier for you.
After the ribbing stitches are done, hang proper weights and start plan knitting for about 128 rows in Tension 7. Bind off loosely. I bind off by hand knit each stitch with the latch of needles on the machine. You can also knit a few rows of waste yarn and hand bind off after taken off the machine.
The front piece is done.

Hang a clip at the end of the yarn, start the e-wrap cast on.

Wrap the yarn as letter "e".

After cast on, thread the yarn to the center of the carriage.

After knit the first row, hang cast on comb and weight.

After a few rows of plain knitting, start to reform them to ribbing by pulling out the needle and push all the way back so the stitch drops.

Let the stitch drop out of the needle.

Push down to un-knit the stitches.
Latch up from the bottom bar. Twist the first stitch to tighten up a little bit.

Latch up the stitch above to create a purl stitch.

Hang the stitch back to the needle after reforming one column.

Continue all the way up, and every other row (for 1 x 1 ribbing).
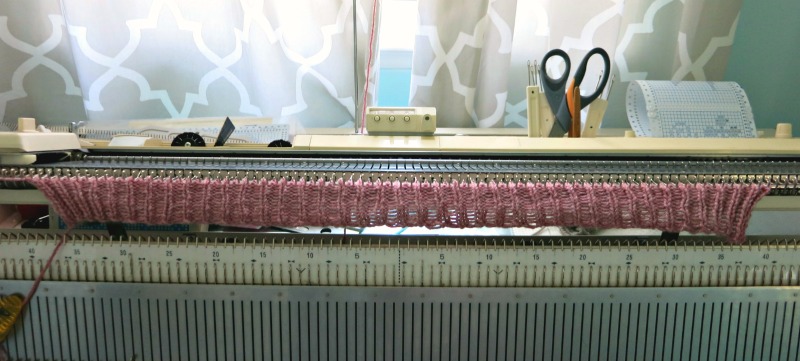
The ribbing part is done.

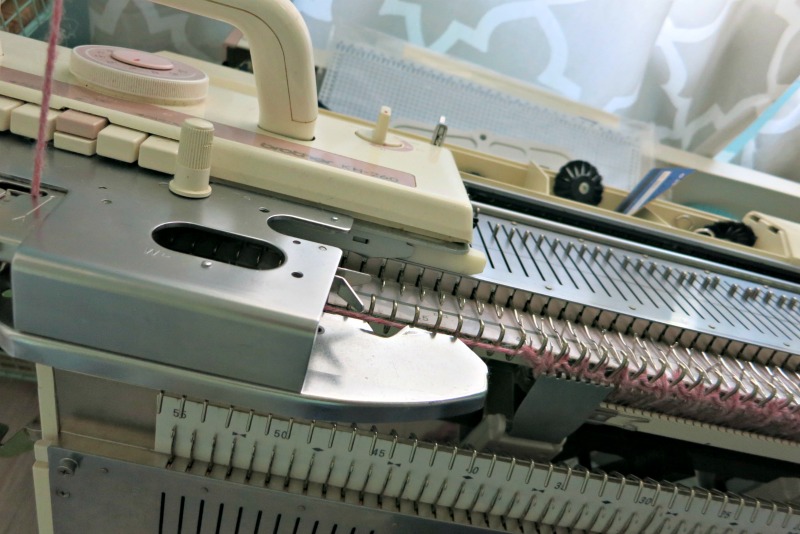
Switch tension dial to 7 or your main tension according to the swatch.

Return row counter to "0, 0, 0".
Hang cast on comb and weight.
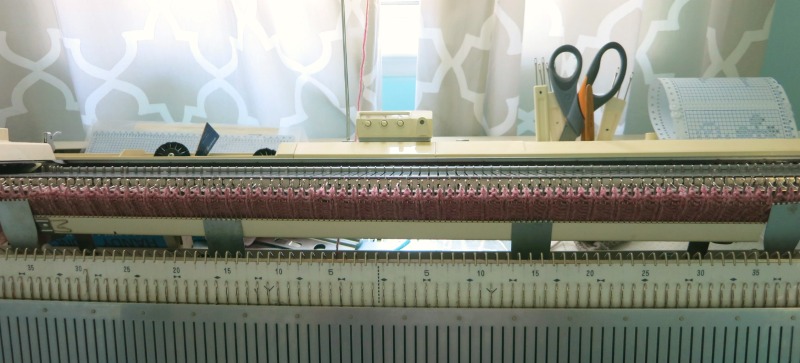
Start knitting the main part until desired length (according to your calculation).

Transferring one stitch to the next needle.

Start binding off by transfering the first stitch to the adjacent stitch behind the latch, wrap the yarn in the open latch, and push the needle back.

Place yarn in the open latch and push the needle all the way back to finsih the stitch. One stitch binded off. Make sure to bind off loosely.
Day 3: Repeat the Day 2 for an identical back piece.
Day 4: Time to measure the sleeves. Since we are not going to do the intricate shaping of the sleeves or shoulders, make sure to measure the sleeve length from the drop down of the front piece to the wrist. It is shorter than regular t-shirt sleeves. Measure the circumference of your arm plus 1-2 inches for ease. This is the width of the sleeve square.
Mine is about 20 inches long and 15 inches wide. So cast on 60 stitches (15 x 4 = 60), and knit about 120 rows (including 12 rows of ribbing).
You can also make the sleeve wider on the top and more narrow near the wrist. It will fit better. Just increase or decrease a few stitches at regular interval near the end. I keep it simple here and just make the basic square.
Same as the sweater front and back, I cast on 60 stitches (61 if you want the symmetrical ribbing end stitches), knit first 12 rows with Tension 6, hand-manipulate them into 1 x 1 ribbing. Start knitting 108 rows (120-12) of plain stitches in Tension 7. Bind off.
One sleeve square is done.
Day 5: Repeat Day 4 for another sleeve. Now all pieces are done. Ready to assemble.
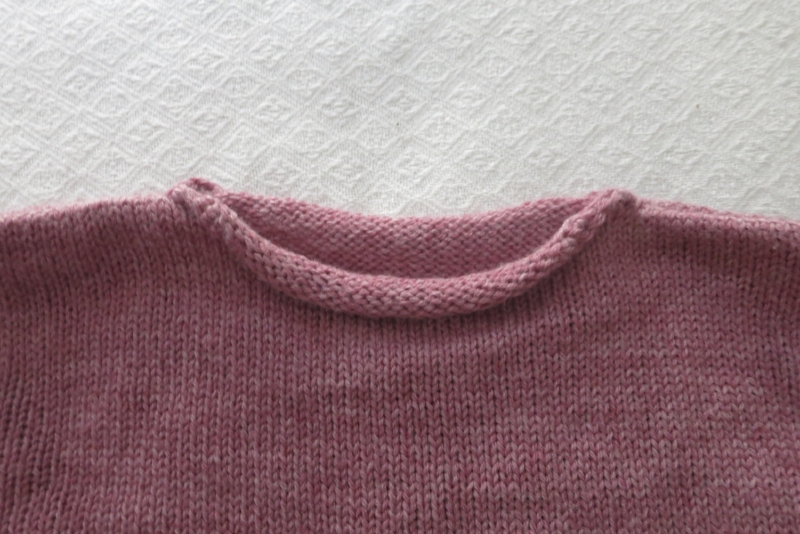
Day 6-7: Time to sew it up. I prefer using a crochet hook of similar size. Attach yarn by tying to one of the loose ends. Face the right sides of front and back squares together, start with the shoulders. Crochet bind off (or sew) about 1/4 of the top. I bind off 23 stitches on each side. It creates an opening in the center with a rolled edge neck. You can adjust the opening size by binding off more or fewer stitches. You want to make sure the head can go through the opening comfortably.
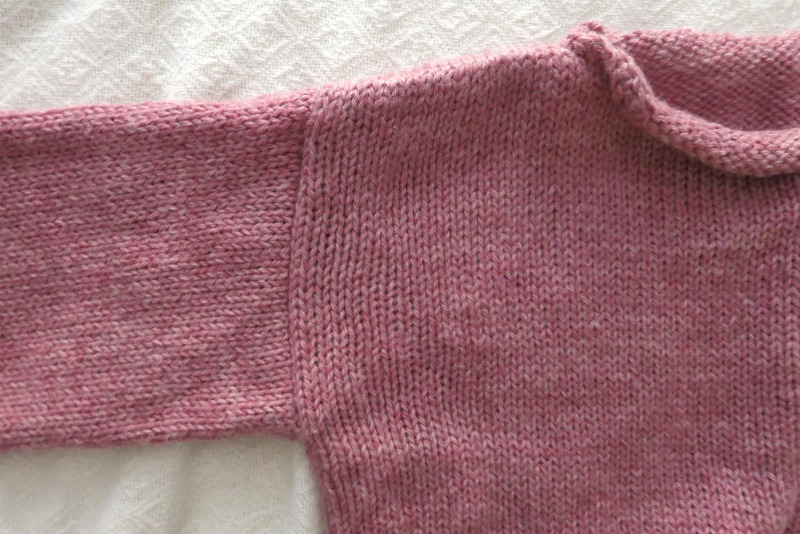
The next is to seam the sleeve to the front and back pieces. Face right side of fabric together, fold the sleeve to find the center, and crochet hook or sew from the center of the shoulder line to the front. Then seam from the center of shoulder line to the back. Do the same on the other sleeve. The next is to sew the sleeve length and body length. Use file clips to hold them in the right place (see picture below). Make sure the right sides are facing each other when using crochet bind off. If you use a big eye needle and a long piece of yarn to sew up the seam, you can do it from the right side of the garment. There are a lot of tutorials on the internet about that.
Now all pieces are seamed. Weave in the loose yarn ends. Steam block the sweater and you are done!
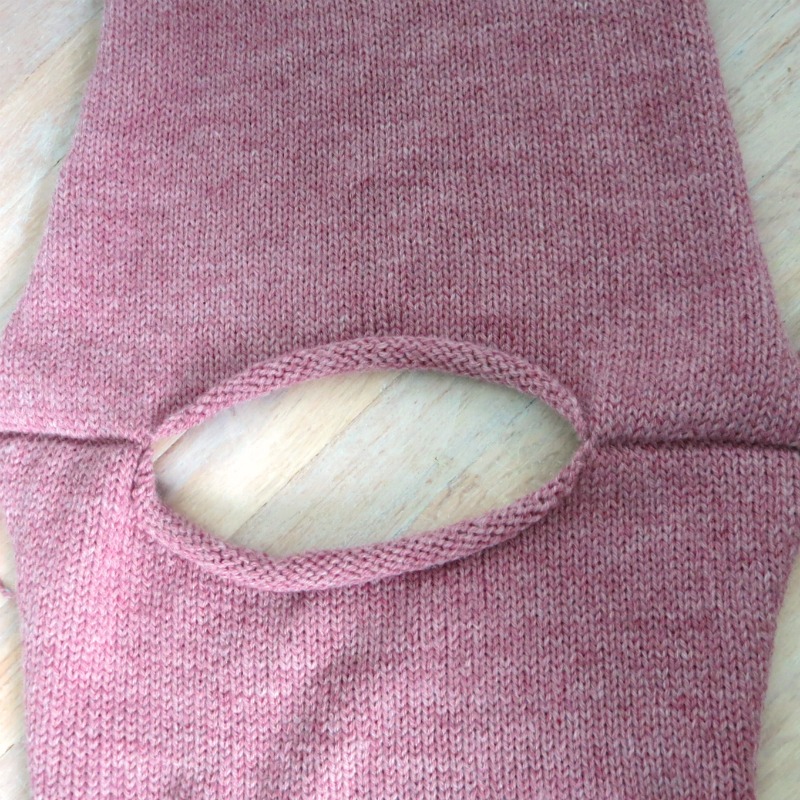
With 2 piece right side facing, seam up about 1/4 of the total length on both sides.
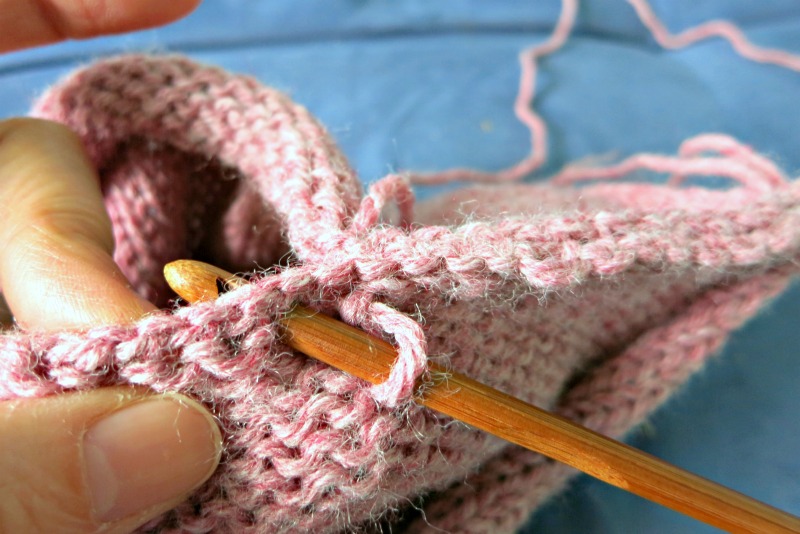
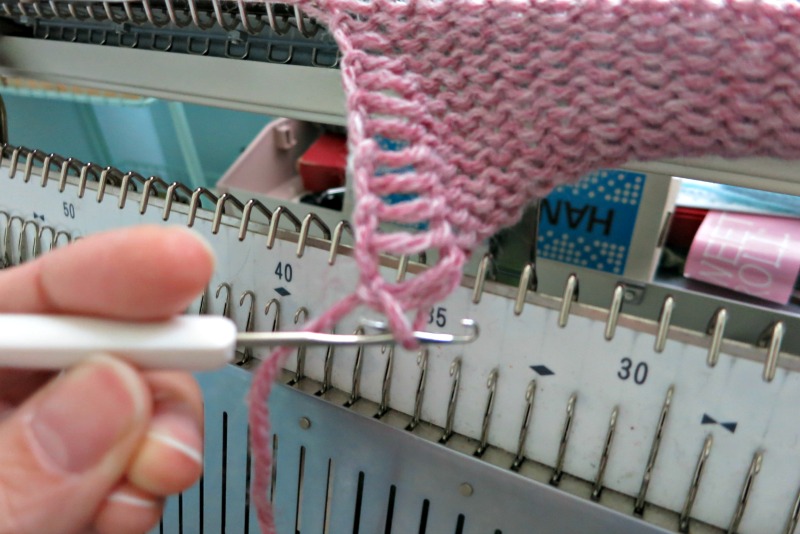
With a crochet hook, go through the hole below chain first.
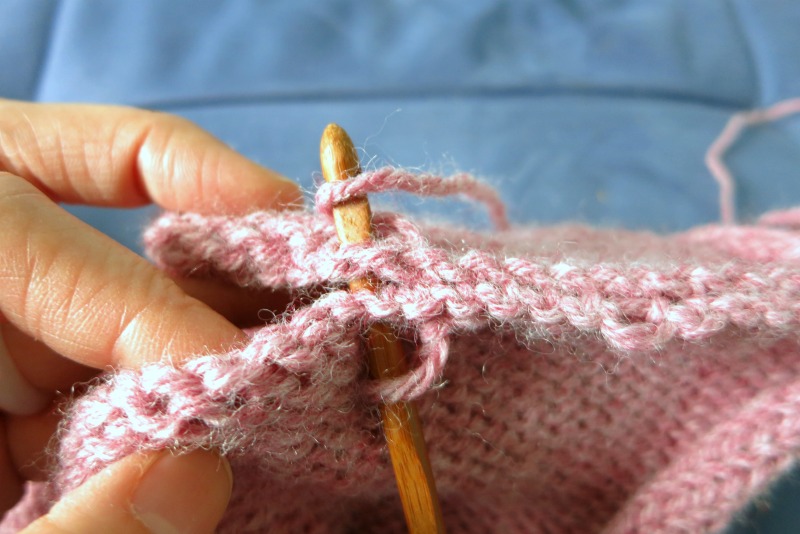
And the hole below V shape chain in the backpiece. Lay the yarn over the hook and pull through.
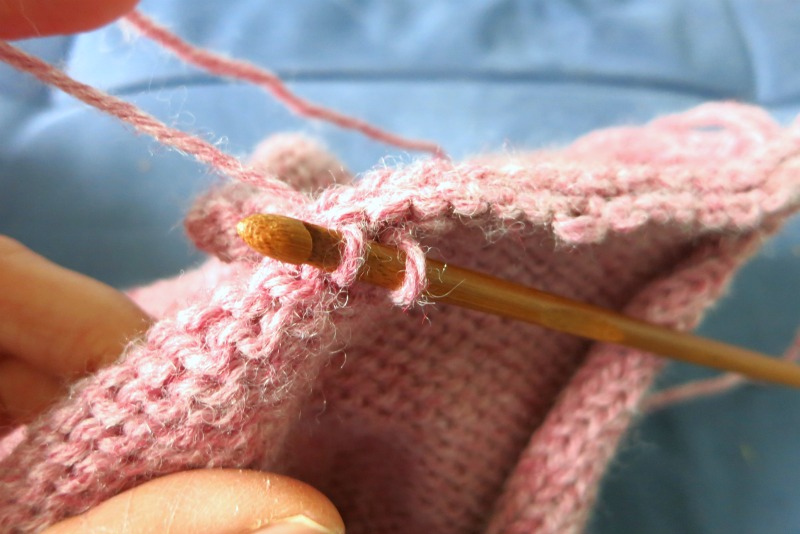
Now you have 2 loops on the hook. Draw the left loop through the right loop, now only one loop left.

Continue until the fabrics are all seamed up.

Body to sleeve is the next part ti seam.
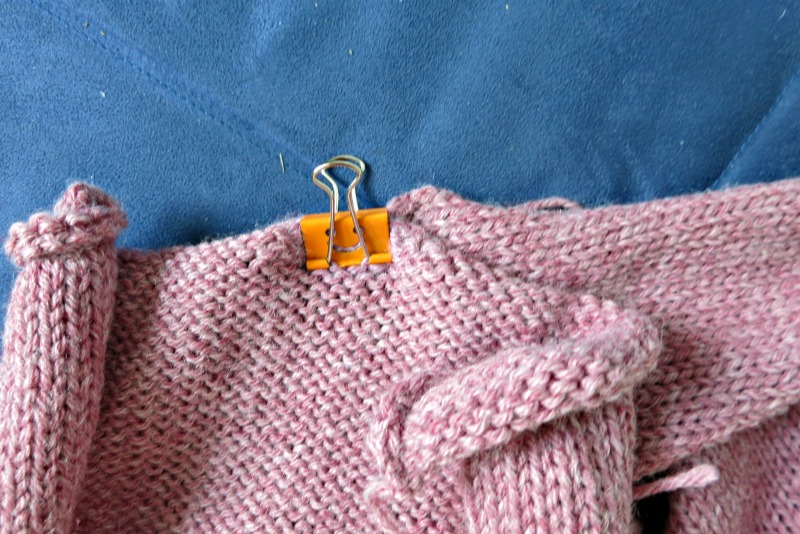
Find the center of sleeve and clip it to the seam line of the body. It helps to seam up evenly.

Seam up the last line, either from the sleeve down, or bottom of the body piece up. Use a lot of clip to help even seaming. Weave in the end. Done.

Some thoughts and tips
Because it is a boxy sweater, some people might not like the fit, especially the arm area connecting to the body. There are many variations you can do:
1. Do a little sleeve shaping so the top of the sleeve is wider and the bottom is more narrow near the wrist.
2. Make the sleeve wider, keep the boxy square style, but make it shorter. For example, short sleeve, 1/2 or 3/4 sleeve will be a stylish and practical choice.
3. Make the front and back body pieces wider. Adjust the sleeves to be shorter. It creates a different style, but still comfortable and trendy.
For edges, besides doing ribbing, you can use different stitches, or leave it as a rolled up edge. You can also crochet an edge (single crochet or any stitch of your choice). I add a single crochet around the neck line. It is optional.
Leave a comment if you like the project, and let us know how yours turn out. Happy knitting!


