

Turn sweater into Cardigan with zipper - sewing tutorial
/Sometimes we rather wear cardigan than sweater because it is easier to put on and take off. I bought some sweaters for my daughter not long ago but she refused to wear because they are not open front cardigans. So I just cut them open and turn them into cardigans. It is actually pretty simple and straight forward, if you are not looking for perfection.

Here is the basic process:
1. Mark the center line with chalk, water soluble pen, or any marker (you will not see the mark after its done).

Mark the center line and sew 2 straight lines next to it.
2. Sew 2 straight lines close to the center line. I leave about 1/4 inch away from both sides of center line. Use a shorter length stitches if you are worried of sweater yarn unraveling. Then cut the center line all the way.

Close up of the center line and 2 sewing lines. It does not have to be perfect.

Cut it open, following the center line.
3. I use store bought "double folded bias tape" and cut the length of the center line plus the fold back at beginning and the end (about 1/2 inch on each end). Cut 2 pieces (for left and right sides). You can also make double folded Bias Tape at home by cutting cotton stripes on 45 degree angle. Cutting in 45 degree makes a stronger, and more flexible fabric. Store bought bias tape comes in different width. Wider bias tapes for sporty, casual and thicker sweater. Narrow ones for dressy and thinner sweater. Make sure it can cover the raw edge with enough space to stitch a line and fit a zipper.

Use double folded bias tape to cover the raw edge.
4. Cut the ends in an angle and fold in to the back of Bias tape. Fit the bias tape over the raw edge. Pin or use fabric glue to set in place before sewing.

Trim excess fabric in an angle at the end and fold in to make a neat edge.
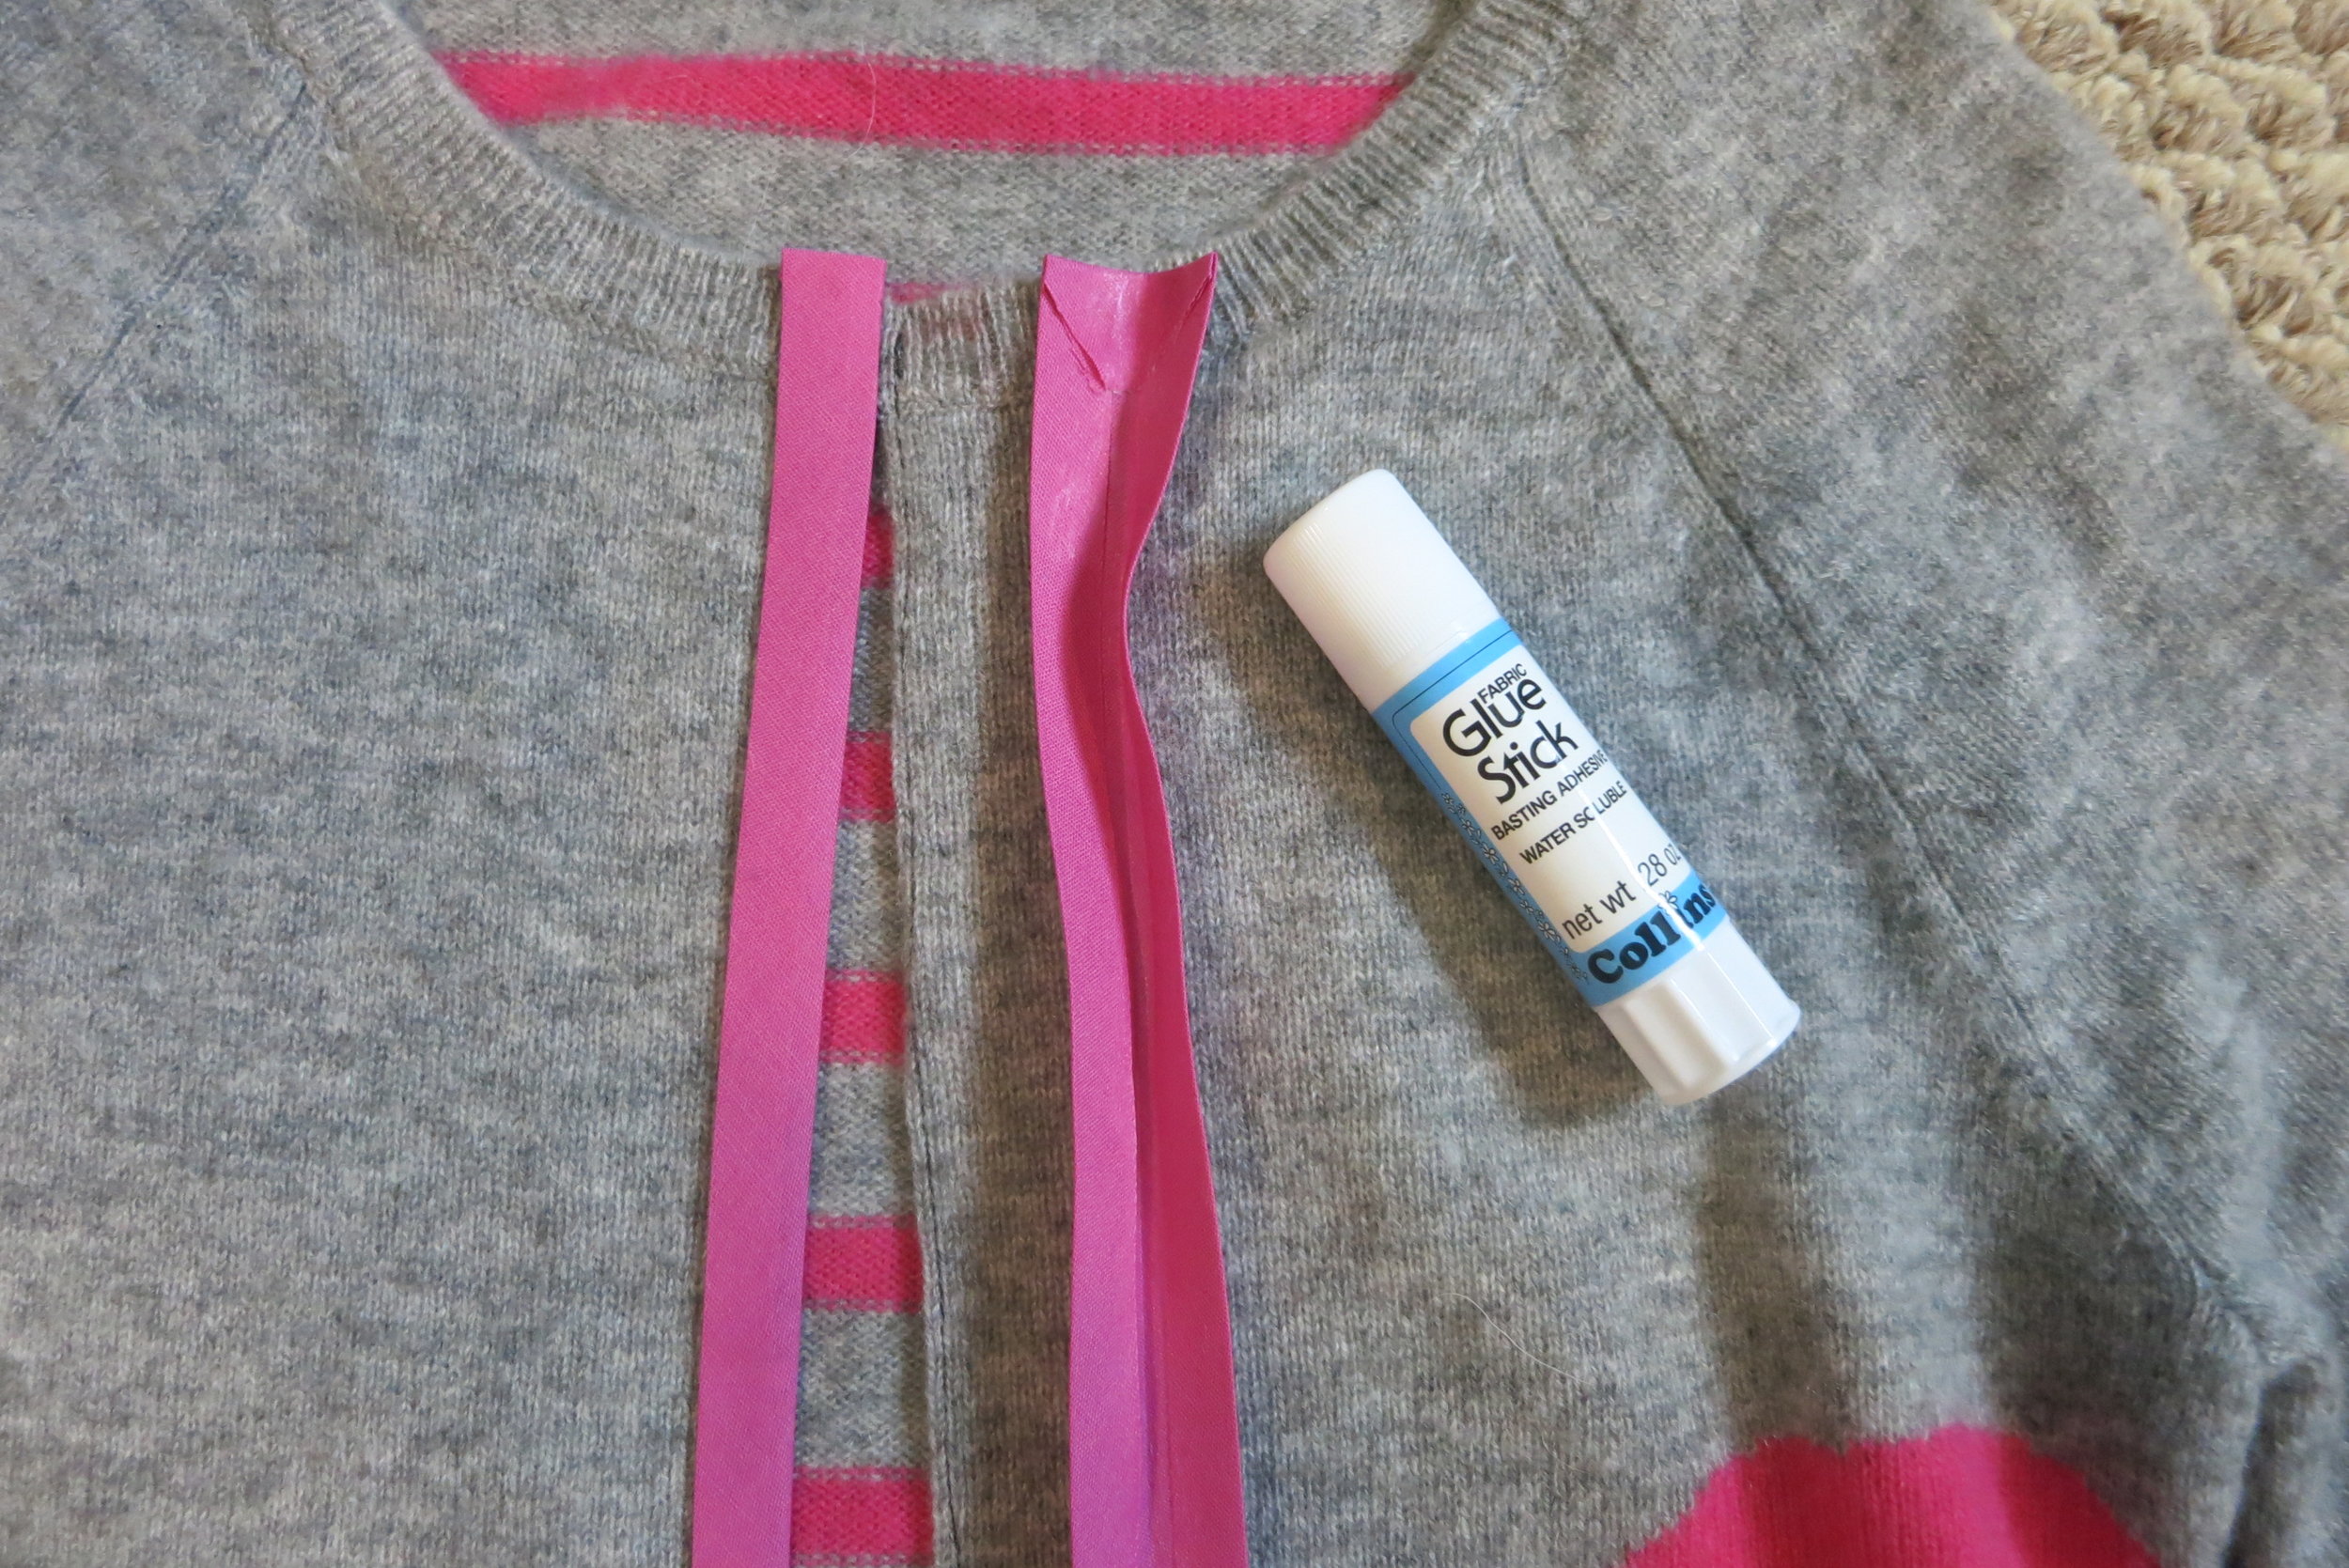
Use "Basting adhesive" fabric glue stick or pin to hold the bias tape in place.

After applying "Basting glue".
5. Sew a straight line along the edge of the tape. Repeat on the other side so both left and right sides are sewn. Make sure the sewing line goes through all 3 layers (top and bottom bias tape, plus the sweater in between). Longer length stitch produce a neat line. I also use shorter length stitches at the beginning and ending so it is easier to control the back stitch.

Sew a straight line. Don't forget to back stitch at the beginning and the end.
6. Pin the "Separating zipper" in place. I use light weighted 16 inch zipper for my daughter's sweater. Make sure you have the right length, and buy the "separating" zipper for jacket.

After sewing bias tapes.
7. Sew a straight line near the zipper teeth. If you have a "zipper foot" for the sewing machine, use it. Or you can use regular "zigzag foot" or "straight stitch foot". The purpose of the zipper foot is to make sure the sewing line is close to the zipper teeth.
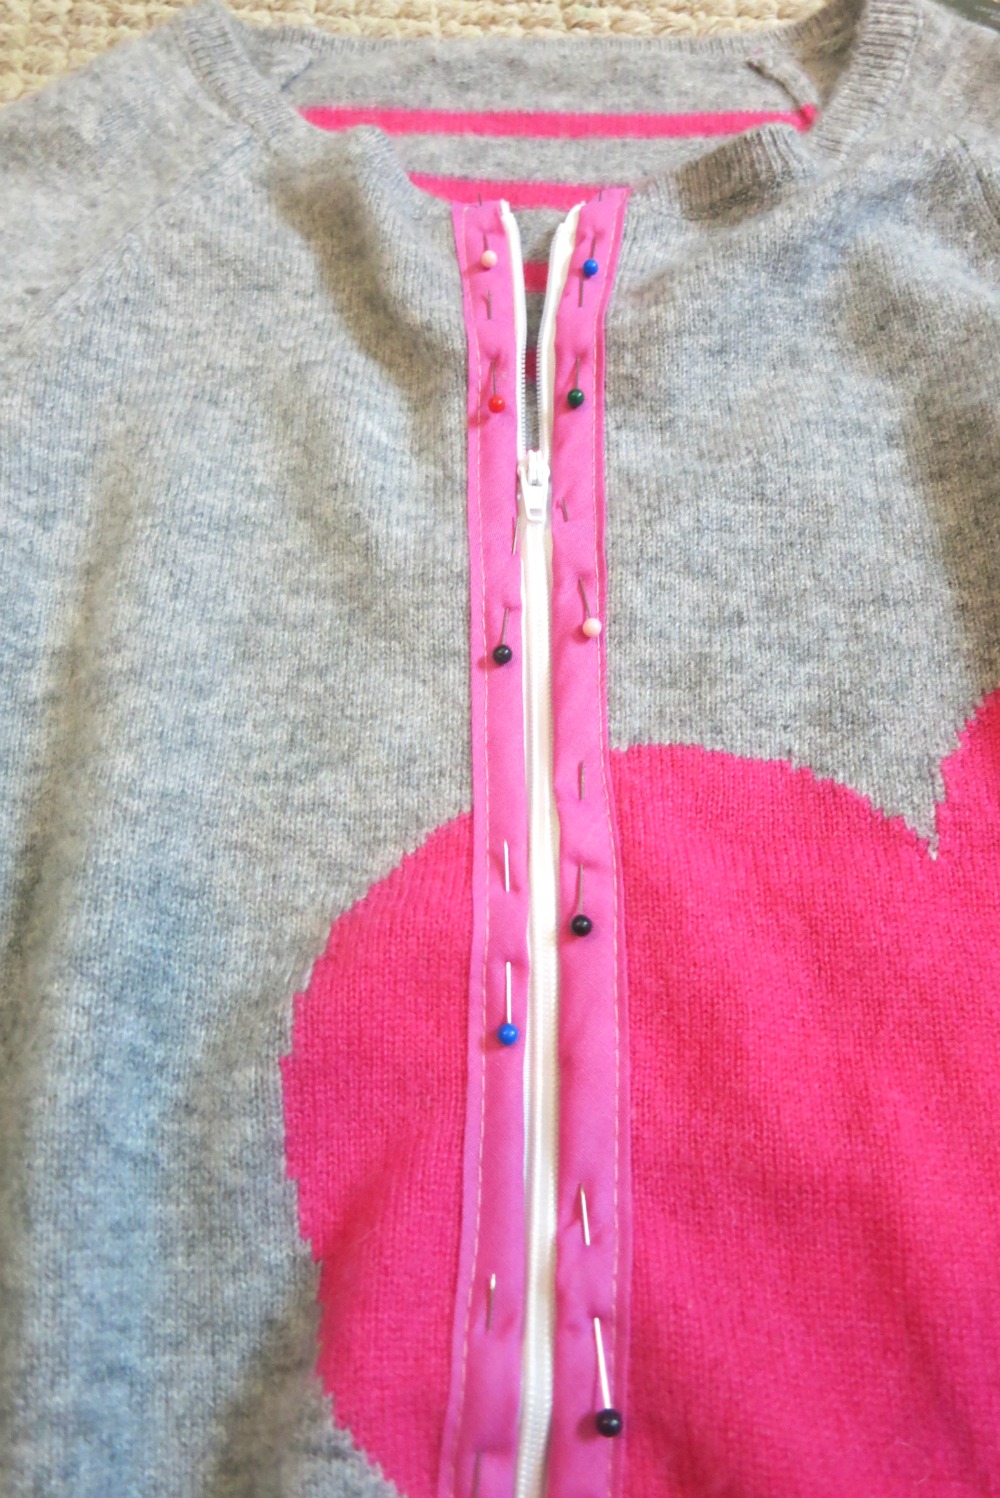
Pin the separating zipper in place.

Sew a line close to the zipper teeth.
When sewing before the zipper pull, just lift up the sewing foot and slide the pull out of the way, and continue sewing.
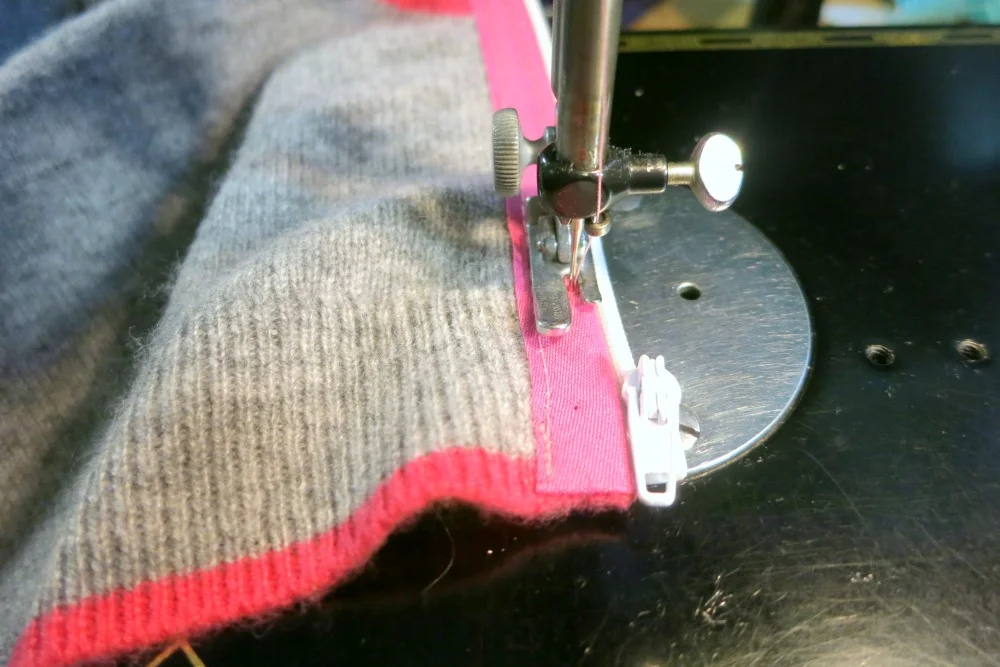
When it comes to zipper pull, lift up the foot and slide the zipper pull out of the way. Continue sewing the line.

Zipper pull is out of the way. Now finish sewing the line.
8. Do the same with the other side of the zipper. Make sure to separate the zipper completely first. Since I was too lazy to change to zipper foot, I just turned the garment 180 degree and sew from bottom up so the sewing line is close to teeth, just like the other side.

Turn 180 degree and sew from bottom up on the other side, so the sewing line is close to the zipper teeth like the other side. Or use a zipper foot.
9. You can also sew a twill tape or ribbon to cover the zipper tape. That will make inside of the garment look much nicer. I did not do this step and it looks fine for my 8 years old's cardigan. Will try it next time.

All done.

If you don't like looking at the zipper inside, you can sew a twill tape or ribbon to cover it. I just leave it alone.
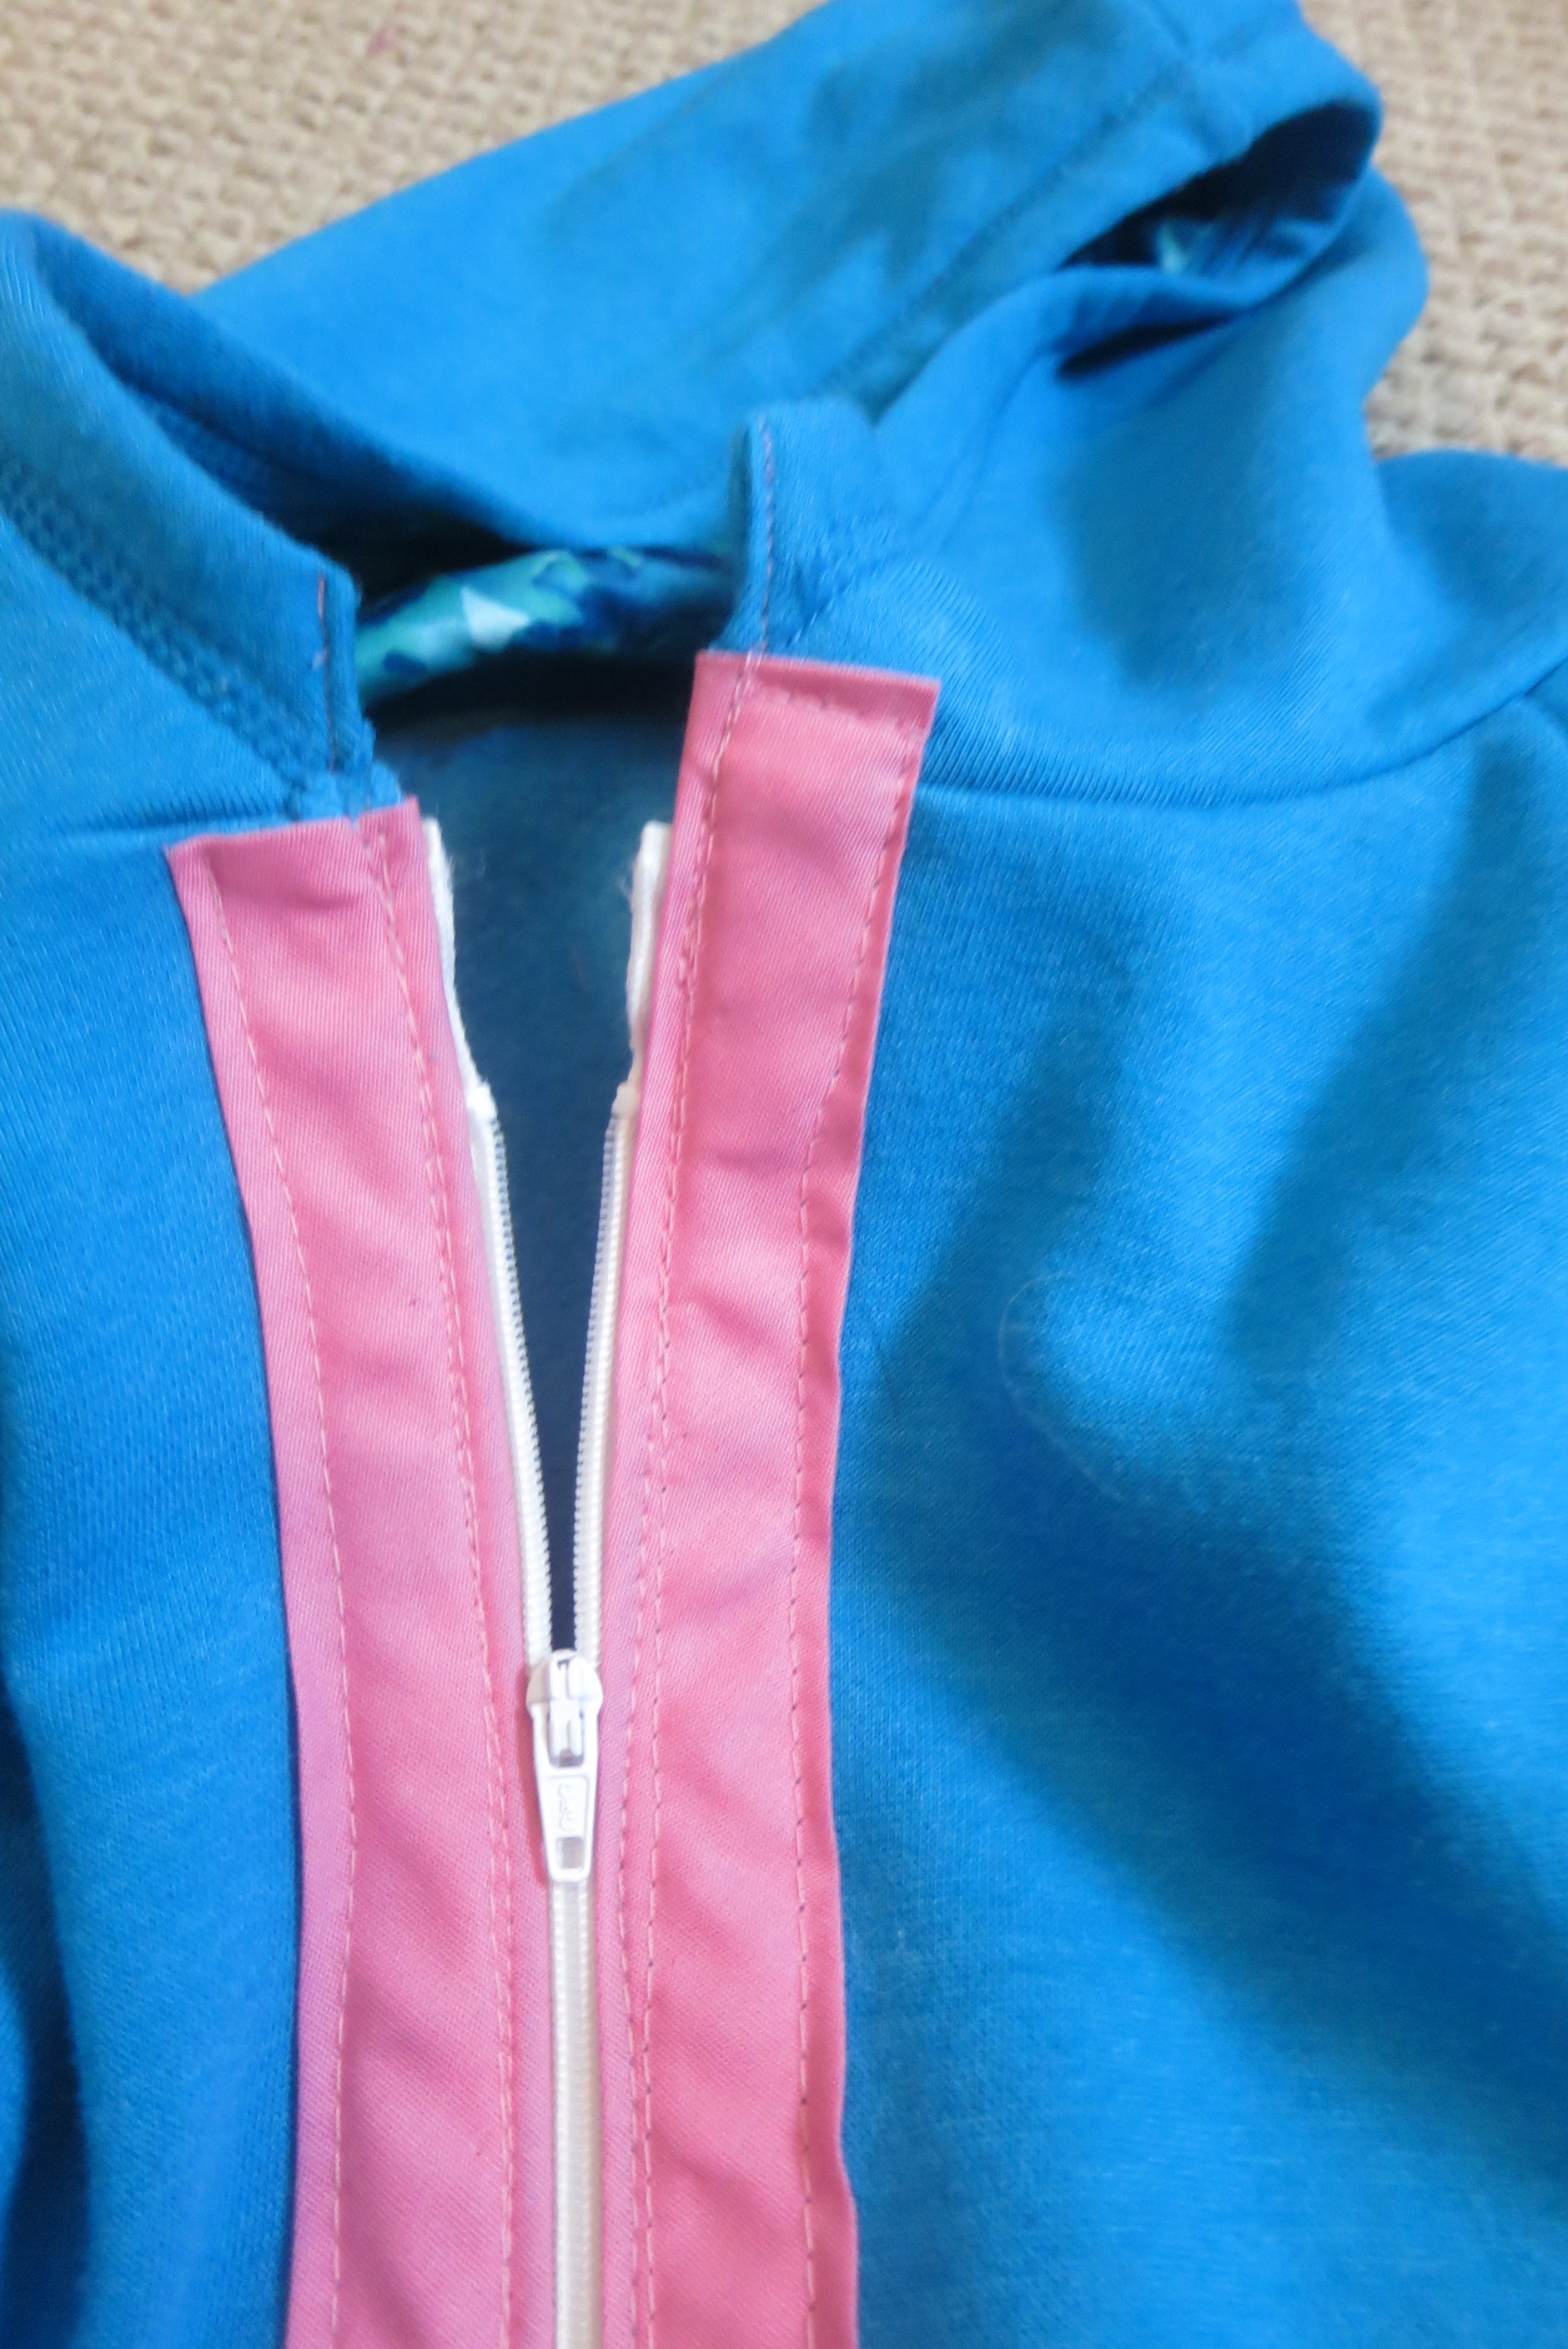
Blue sweater
That's it. I also turned another blue sweater into an open front cardigan. The only difference here is the hat. When I cut open the center front, it also cut open a little piece of the hat. My solution is to turn the extra pieces in with a scissor and sew over it so there is no raw edge.

I use Serger to finish the raw edges. You can use zigzag stitch too. Depending on the fabric, you might not need any finish for raw edges. Jersey and this French terry type of fabric will not unravel.

I use scissor to turn the extra fabrics into the hat. Looks like 2 little tubes. Just need to sew over to close the hole.
All done. The "tubes" on the hat are sewn closed.

That's how it looks. Now it is a cardigan.
After cutting the center front, I use a Serger to finish the raw edge first, but it is optional. You can also use zigzag stitch to finish the edge. I also use a wider bias tape for this casual sweater.
I hope this tutorial will give you a little more confidence when cutting up your garment next time. A functional and wearable garment is better than a perfect one on the shelf. Let me know how yours turn out.


How to hand sew a simple fabric book cover video tutorial.